Detailed process for “Earth Echos”
Problem Definition
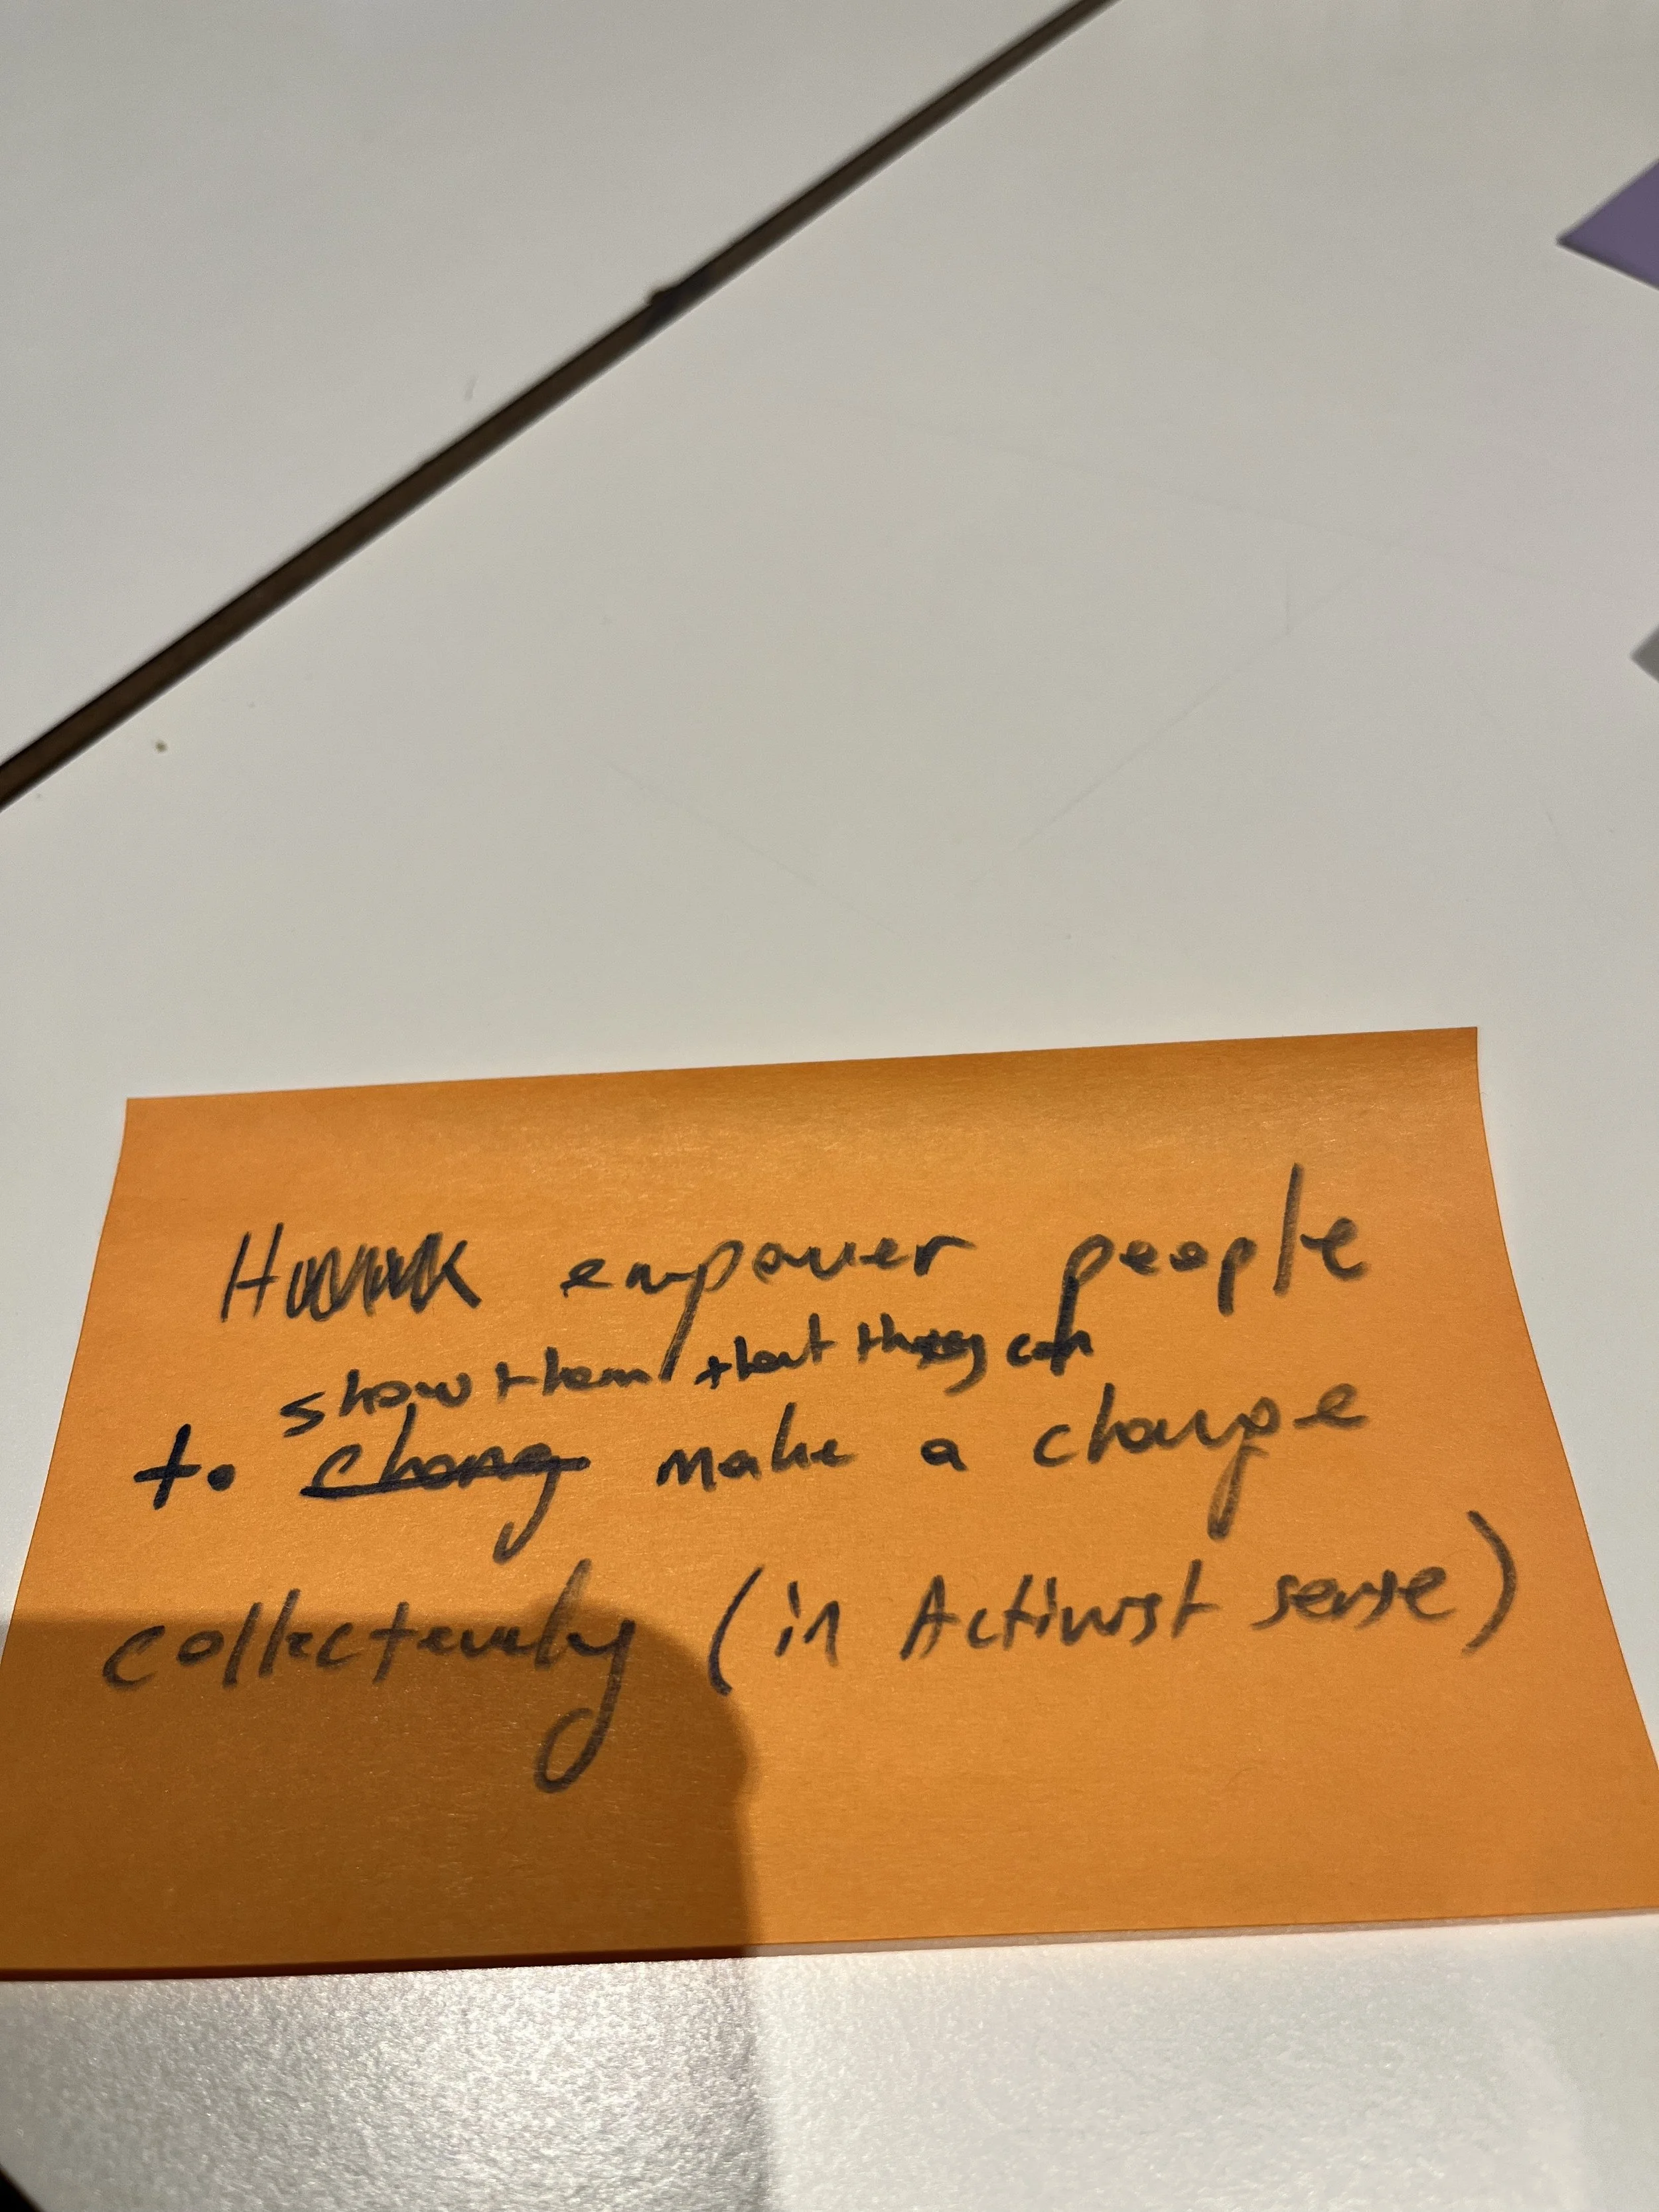
We were tasked with building an interactive physical prototype for a shared space. We knew we wanted to build something purposeful that can be used in our school’s shared space and after brainstorming landed on this HMW: “How might we” leverage a physical device in a shared space to ignite curiosity and create opportunities for meaningful cultural conversations.


Ideate

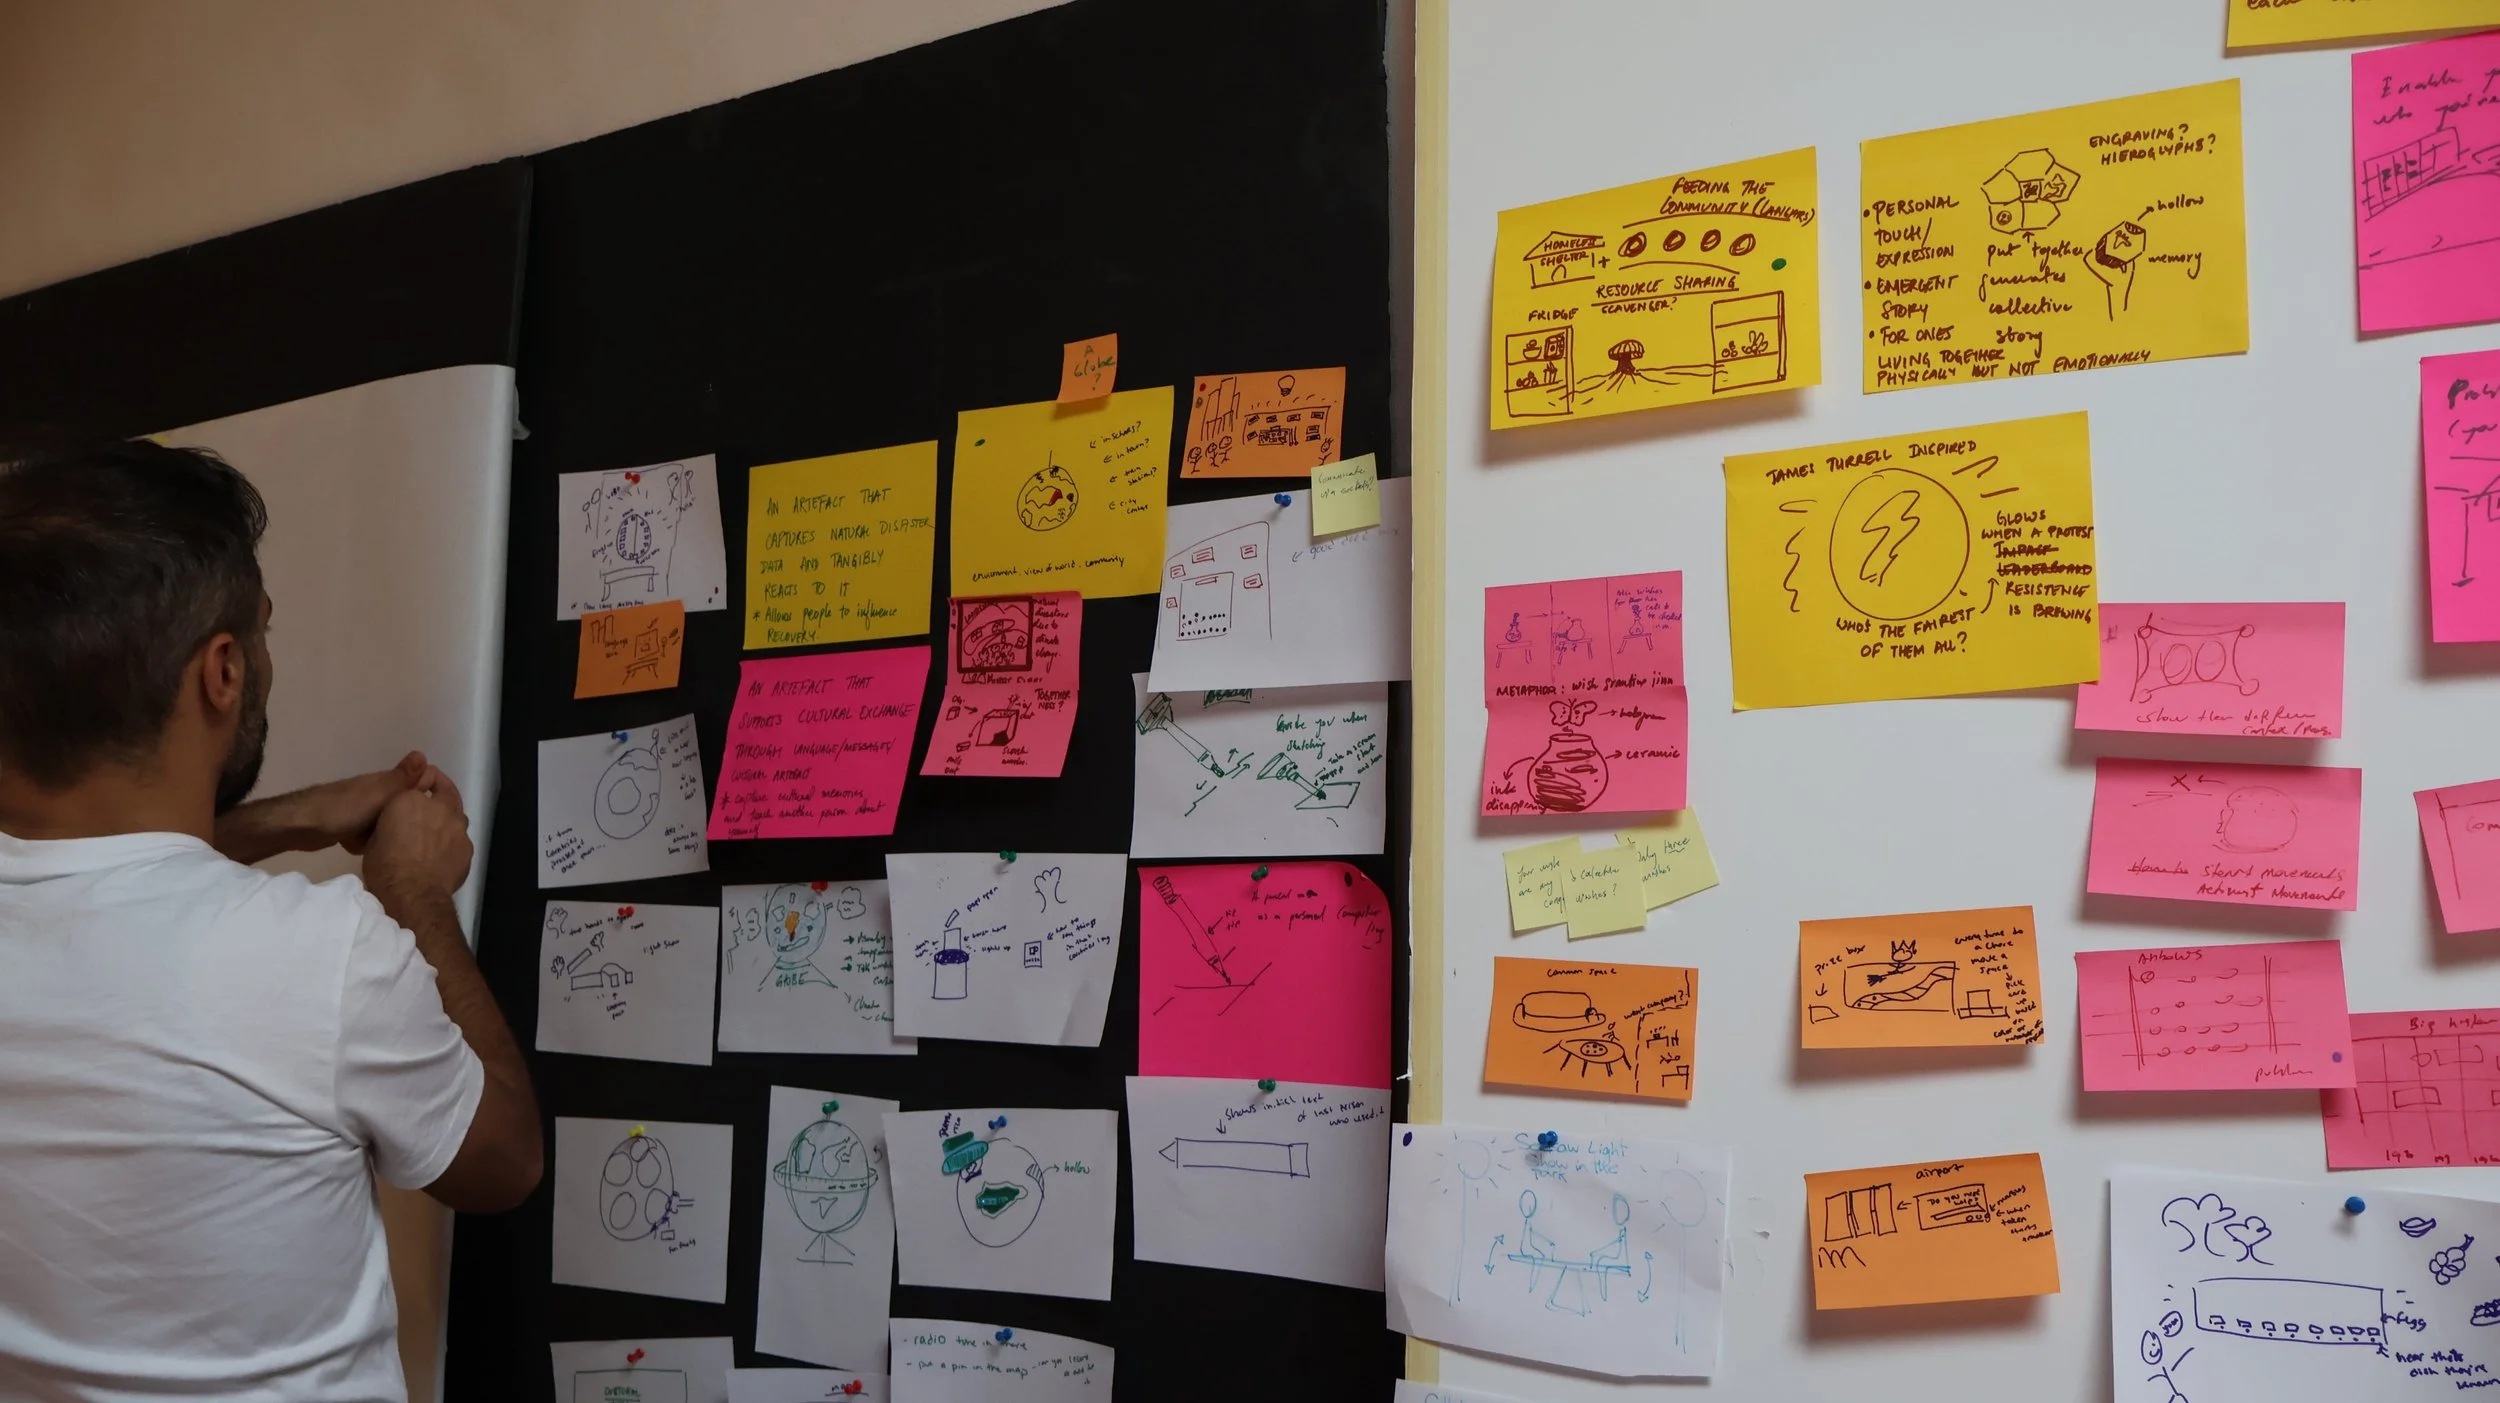
Our team quickly began ideating via crazy 8’s and 10 minute sessions where we drew as many ideas as possible. Our ideas ranged from artifacts with musical instruments from around the globe to a language box where you can learn how to say any phrase in another language.
Prototype & Iterating
Once we selected an interactive map, we began low-fidelity prototyping and experimenting with the form factor. We used cardboard, paper, Play-Doh, balloons, and even yarn to help our ideas come to life. We began body storming, or acting out how the interaction felt, in order to narrow down the ideas.
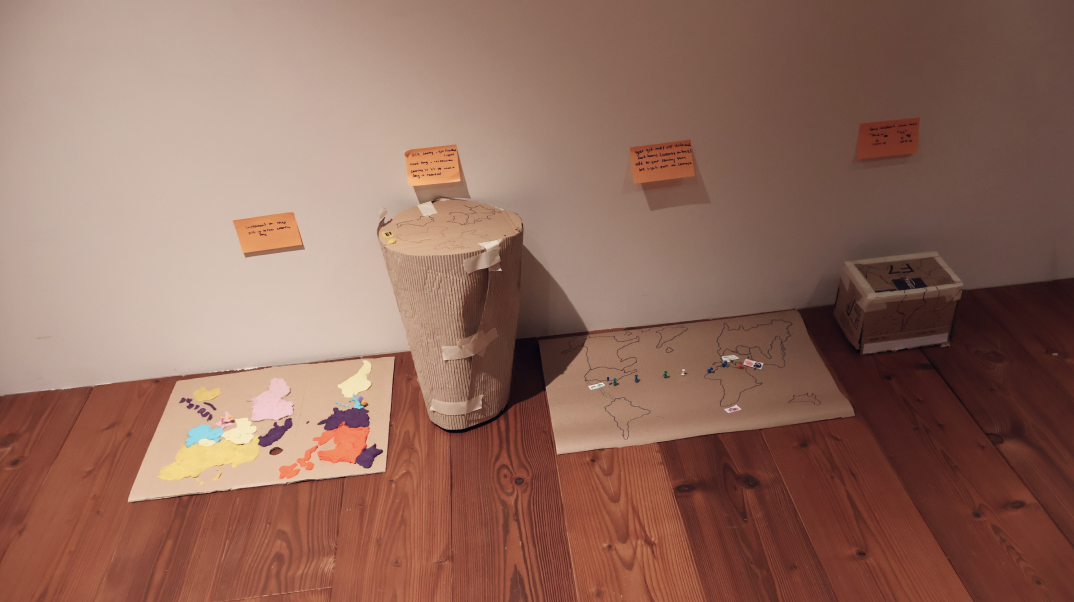
We started by experimenting with what the map could look like. We made lo-fi prototypes that can be placed on tables and also a drum with a map to symbolize a focus on music from different cultures.
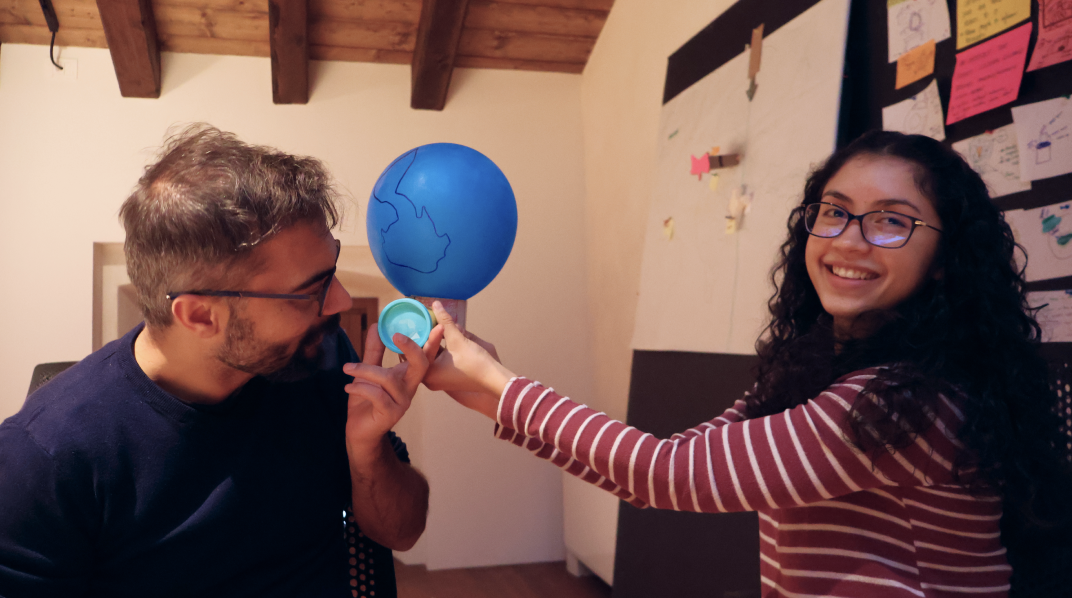
We then experimented with a globe centerpiece that can be placed on a table, hoping it can easily spark conversations around a table or couch.

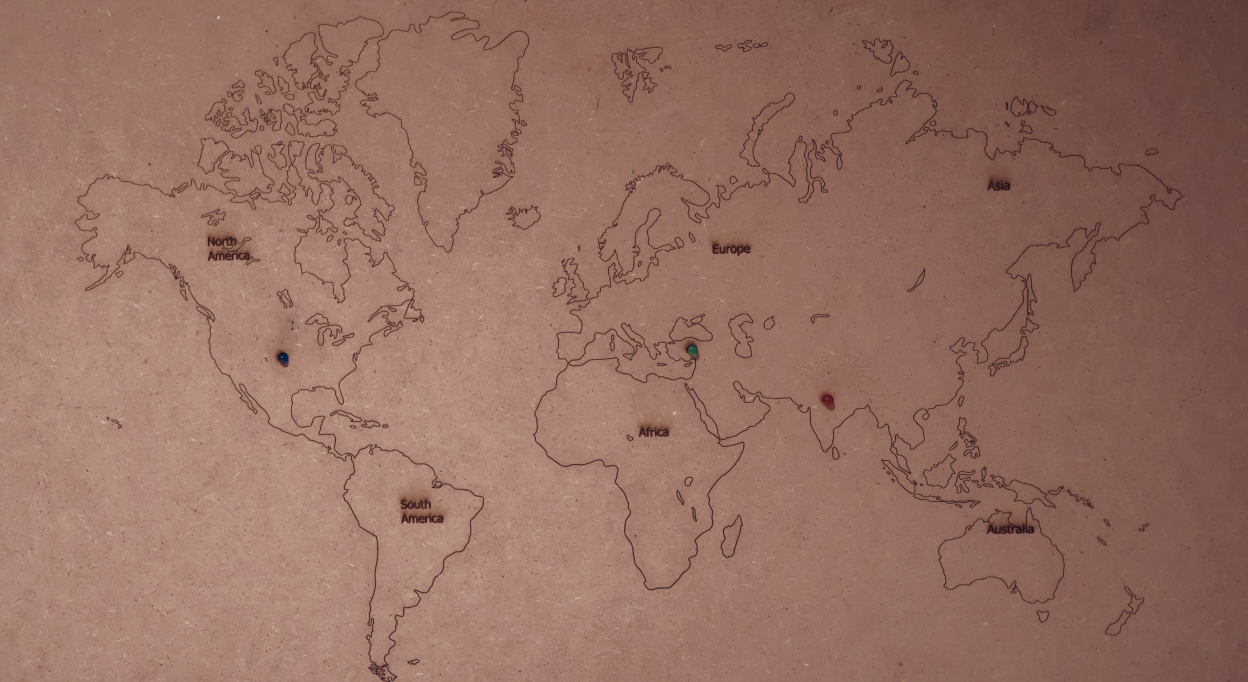
We also prototyped a large map that can be placed on a wall, and we acted out various interactions like adding pins, objects, and talking to it.
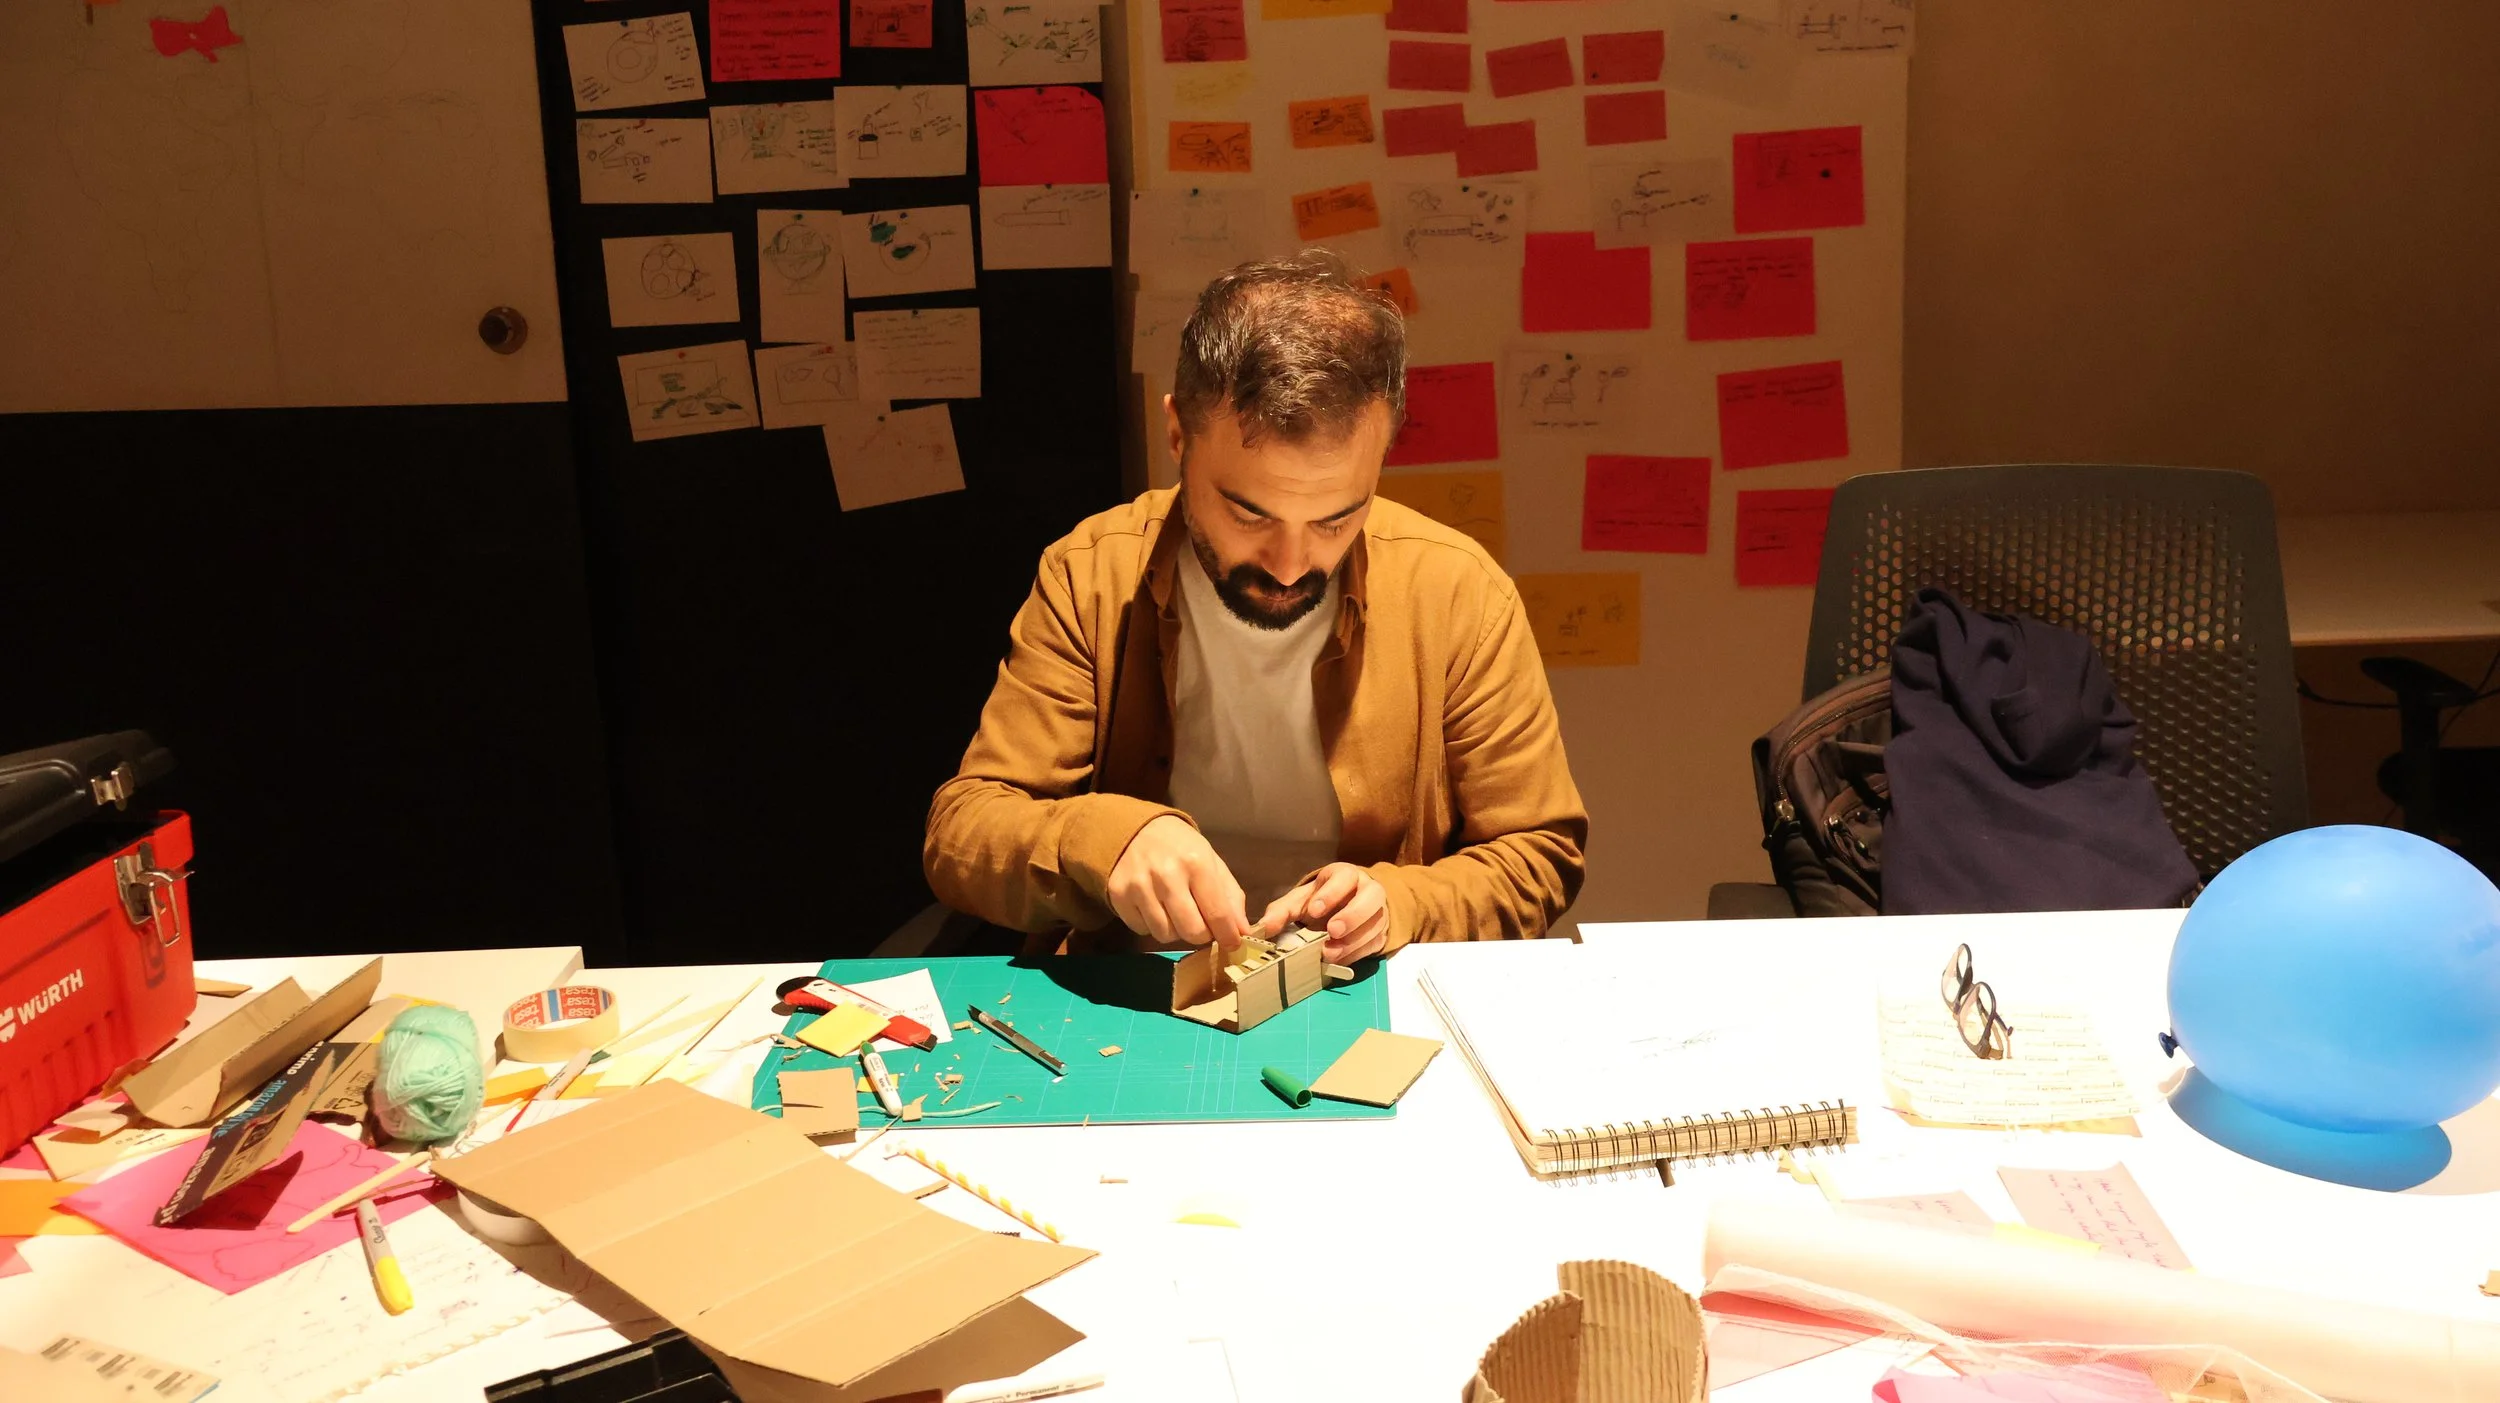
We also prototyped form factors for a recording object. For example, here we were building a small box that could be used as a recording device.
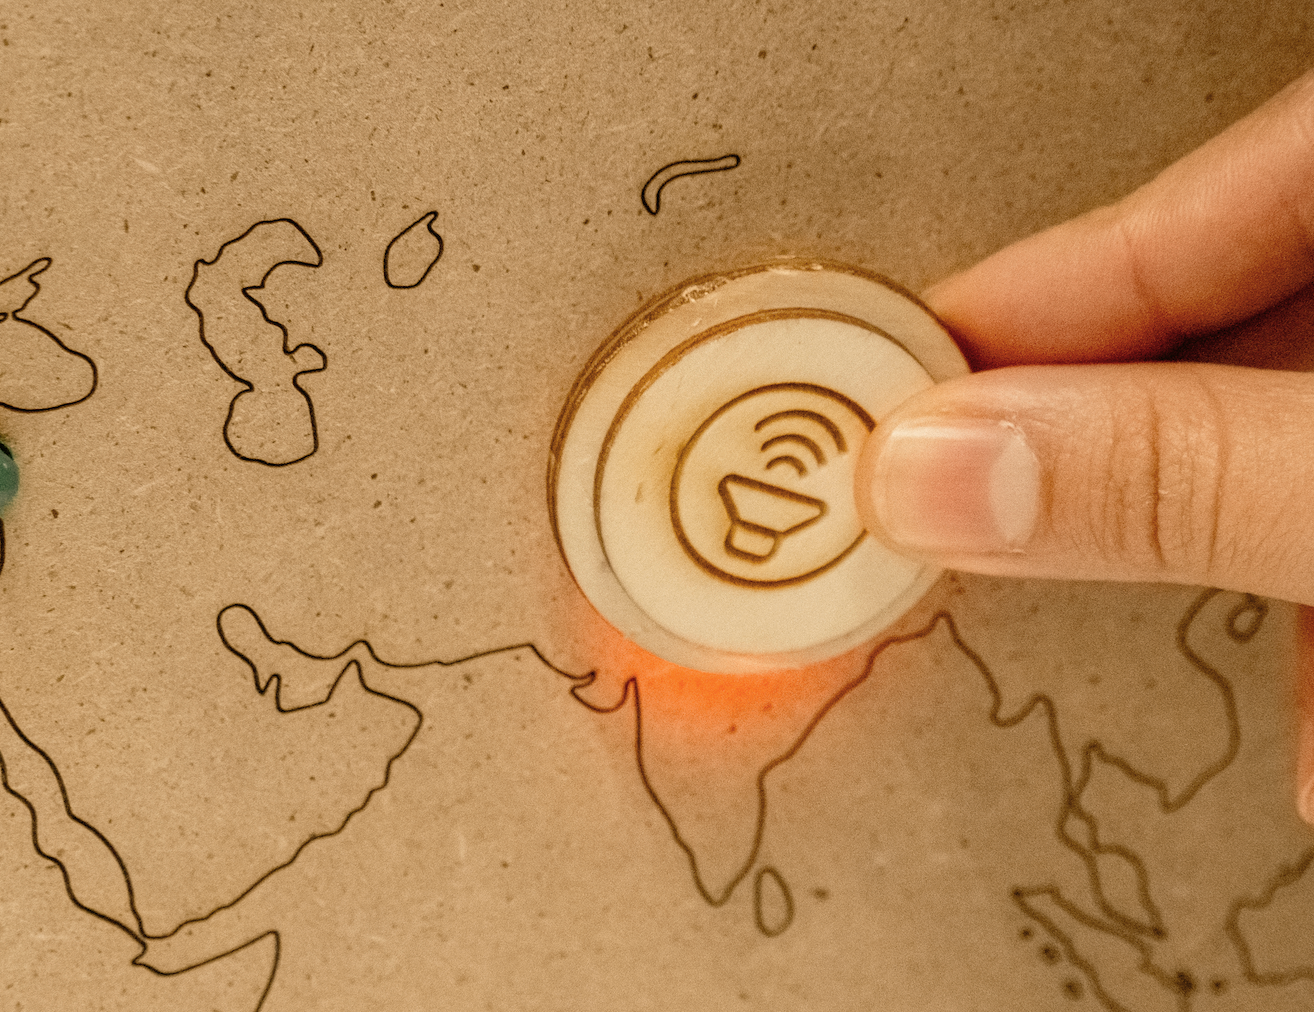
Here we laser cut a small button that could also be used as a recording device when held up to a specific location on the map.
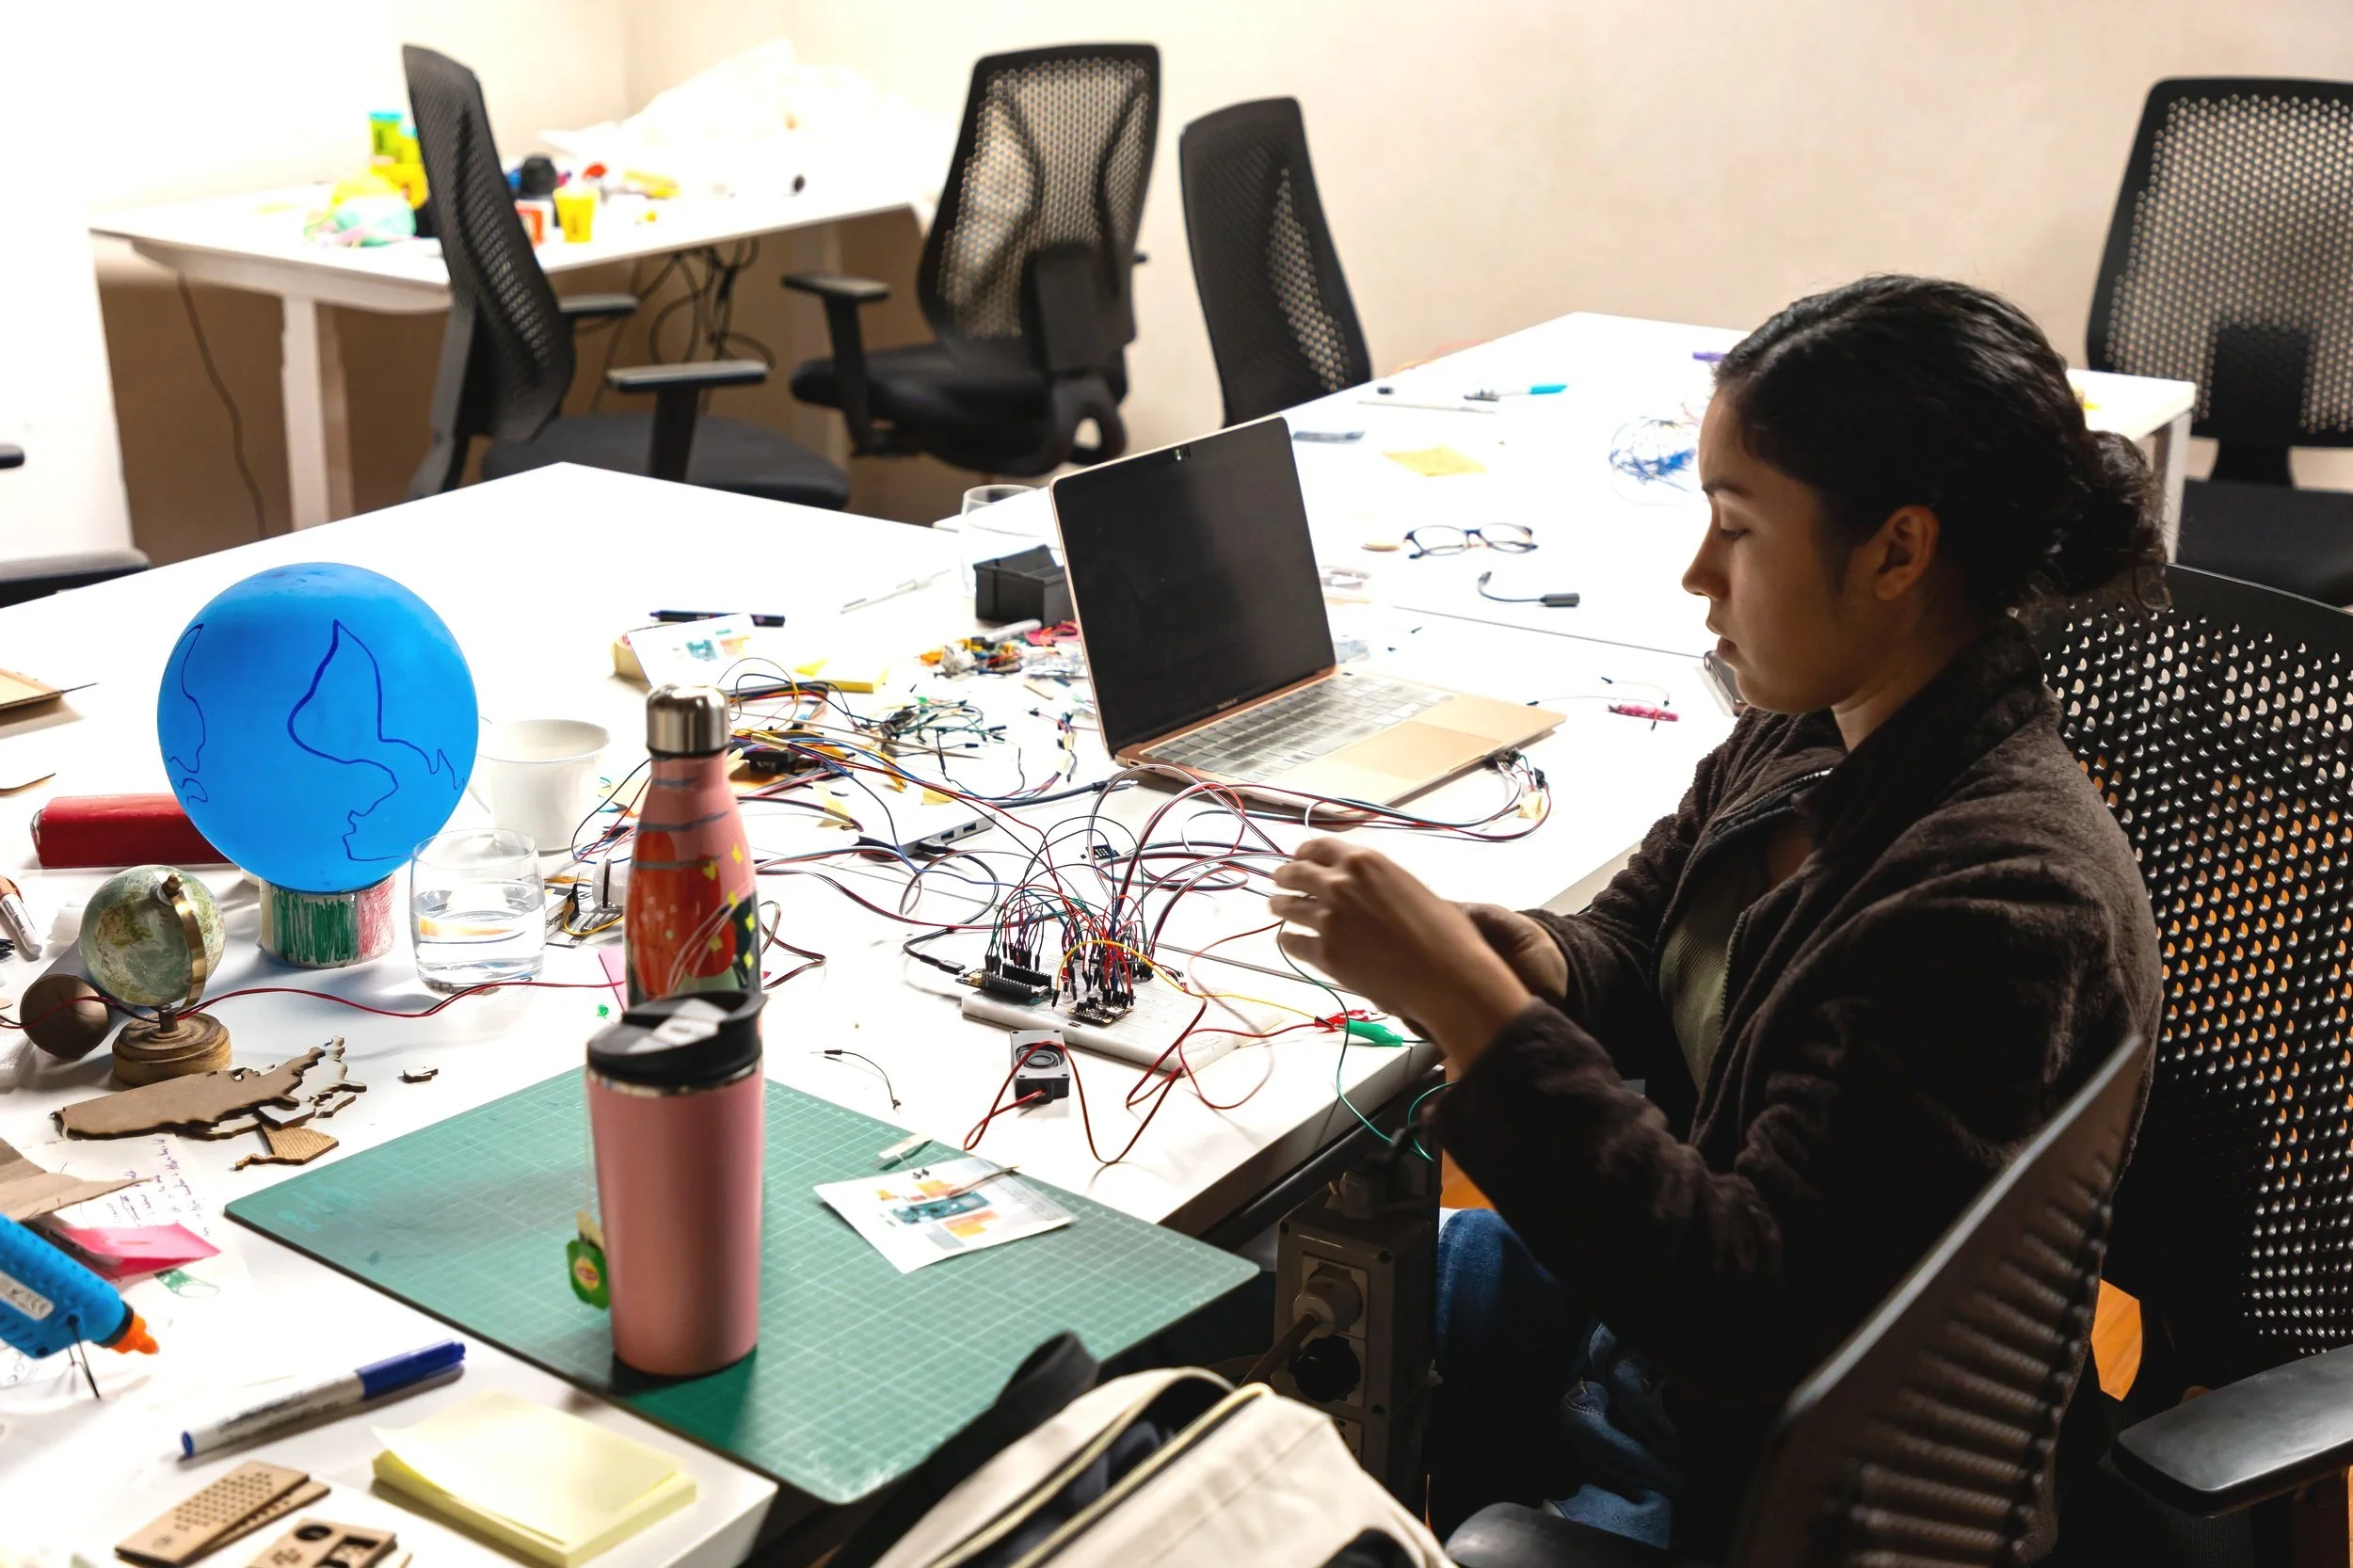
After bodystorming and acting out different interactions our team decided to move forward with a map that could be hung on a wall so that it’s easy for anyone to approach and record a message and see whether a message is waiting. We started building mid-fi prototypes and thinking about what code and materials we needed.
Mid-fi prototype of the world map

The different phases of our map interaction
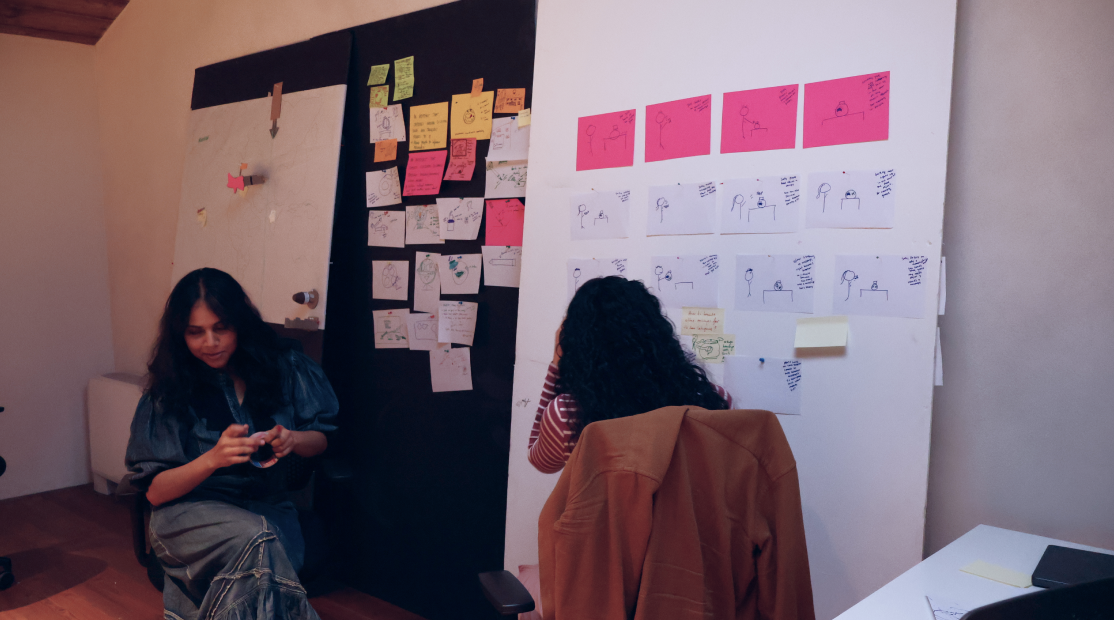
Storyboarding
Once our form factor was confirmed, the team storyboarded to ensure we were on the same page regarding interactions, materials, and design.
Materials
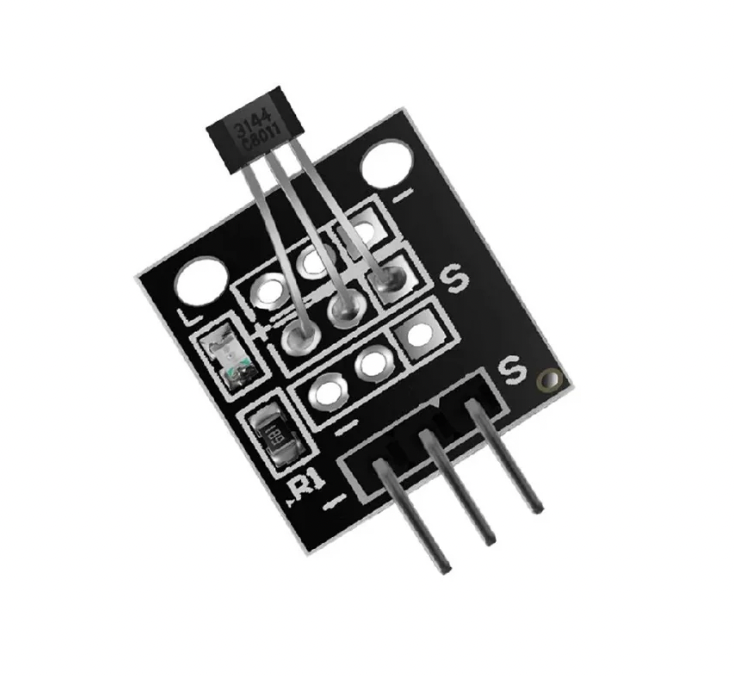
A hall-effect sensor (magnet detector) was placed behind each country.

An arcade button was pressed to initiate voice recording as long as the magnifying glass was on a country.

When the magnifying glass was placed over a country, its internal magnets activated the country's sensor.
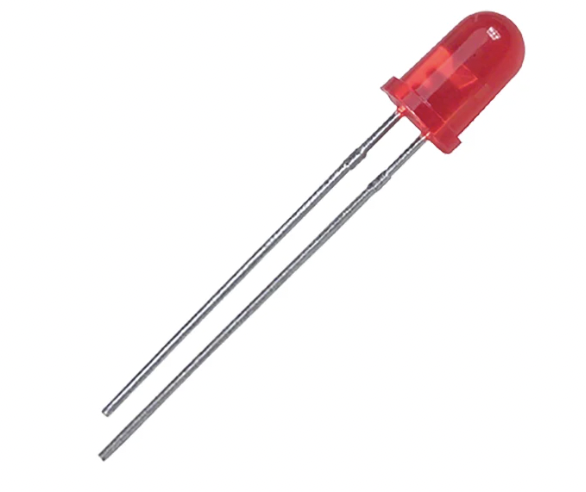
A red LED light signaled to the user that a message is being recorded.

An LED strip ran behind all of the countries and lit them up when a message was left.

A DFRobot speaker was used to play back messages.

A DFRobot Voice Recorder was used to record messages.

The project used an Arduino Uno to process sensor data.
Coding
With the help of ChatGPT and some classmates, I was able to write the code for the DFRobot recorder and recording button and light. We merged it with my teammate’s code that accounted for the LED strips behind all of the countries that lit up once a message was left.
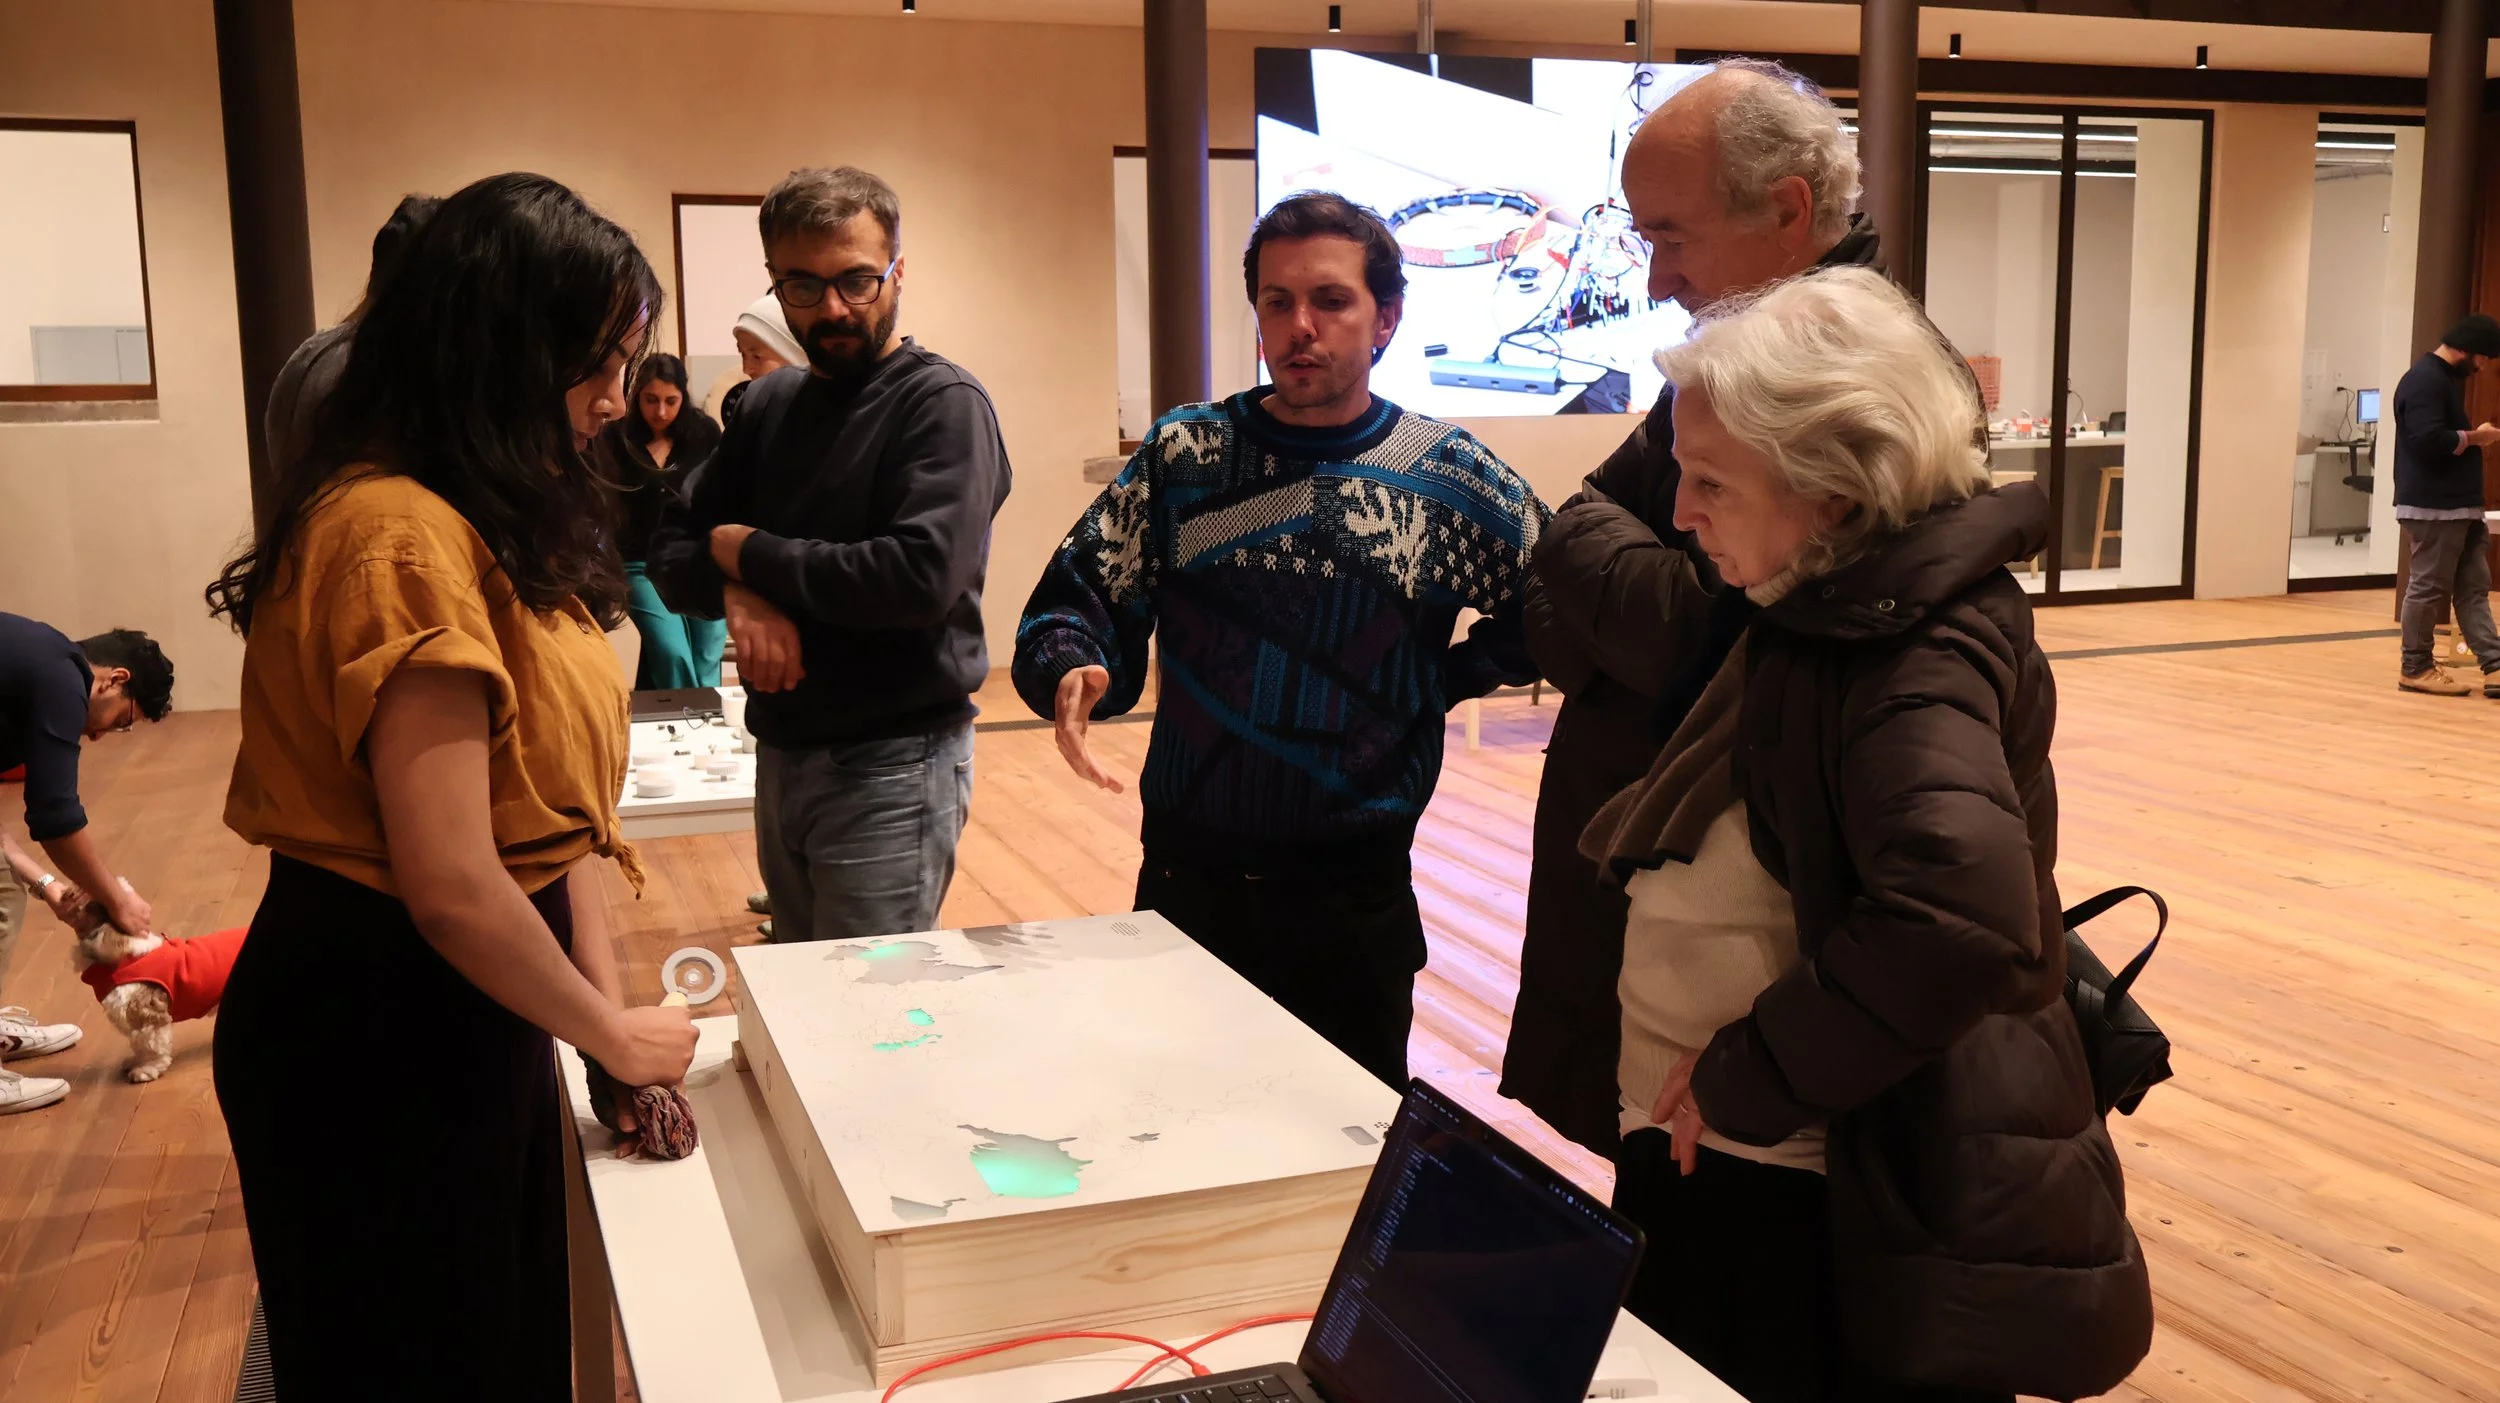
Testing
People from the town were invited to our school to test out our designs. People loved hearing their recording play back when they left a message, but some were unsure how to start the recording at first. Future iterations would include making this interaction even more intuitive.